
LEARN WITH ME
Instructional Video Series
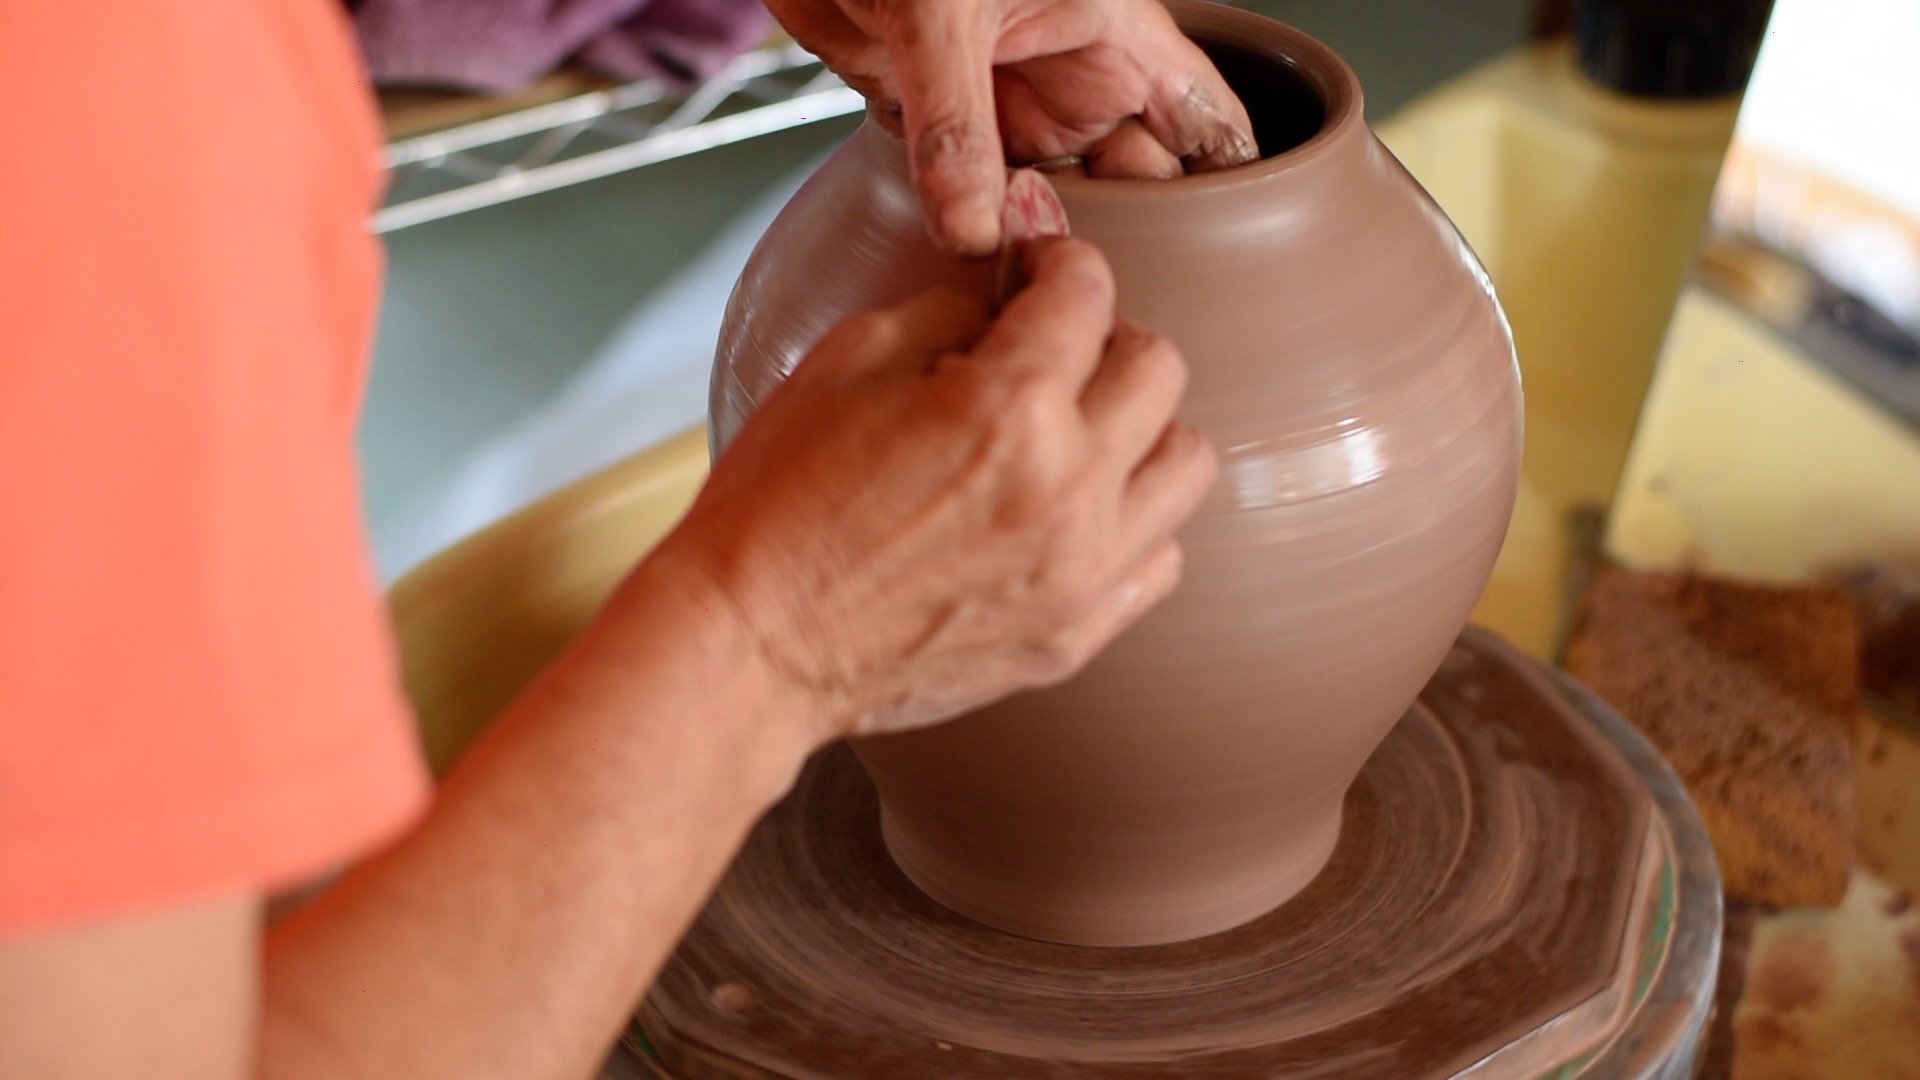
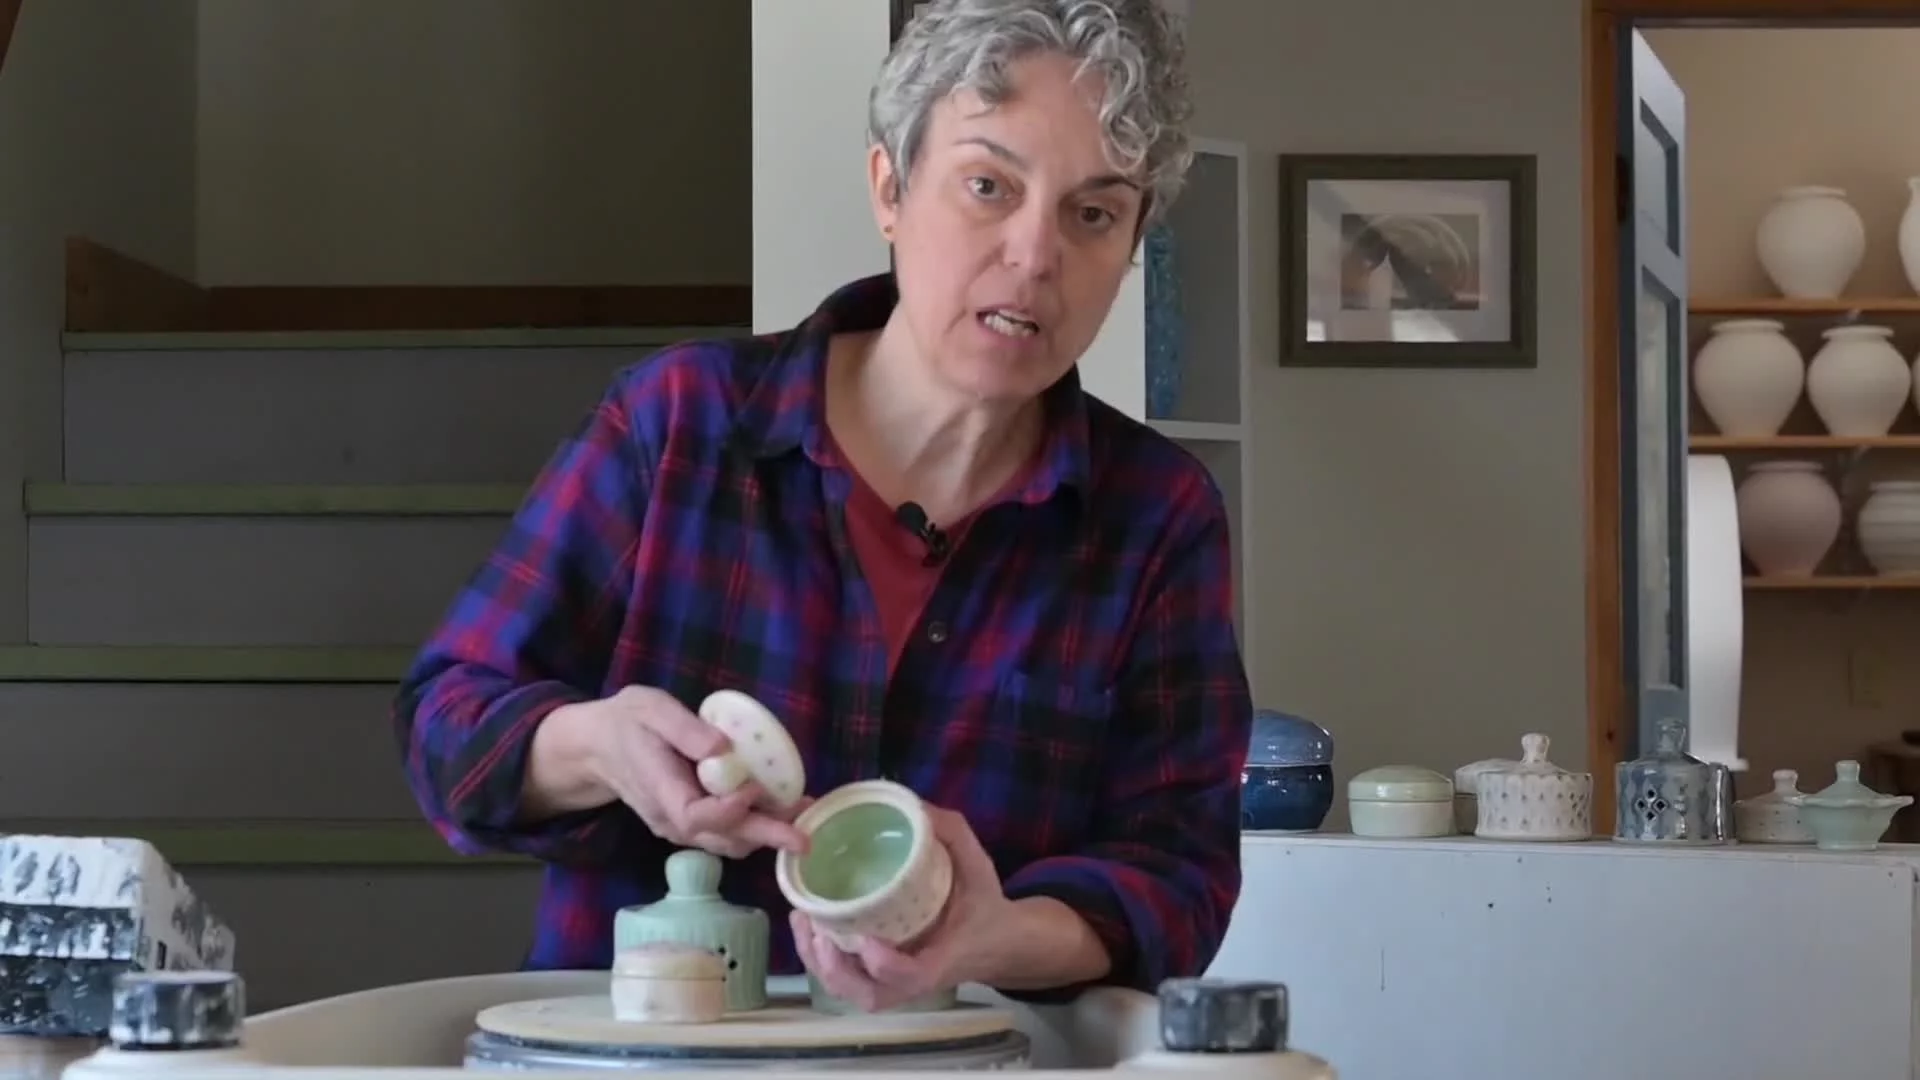
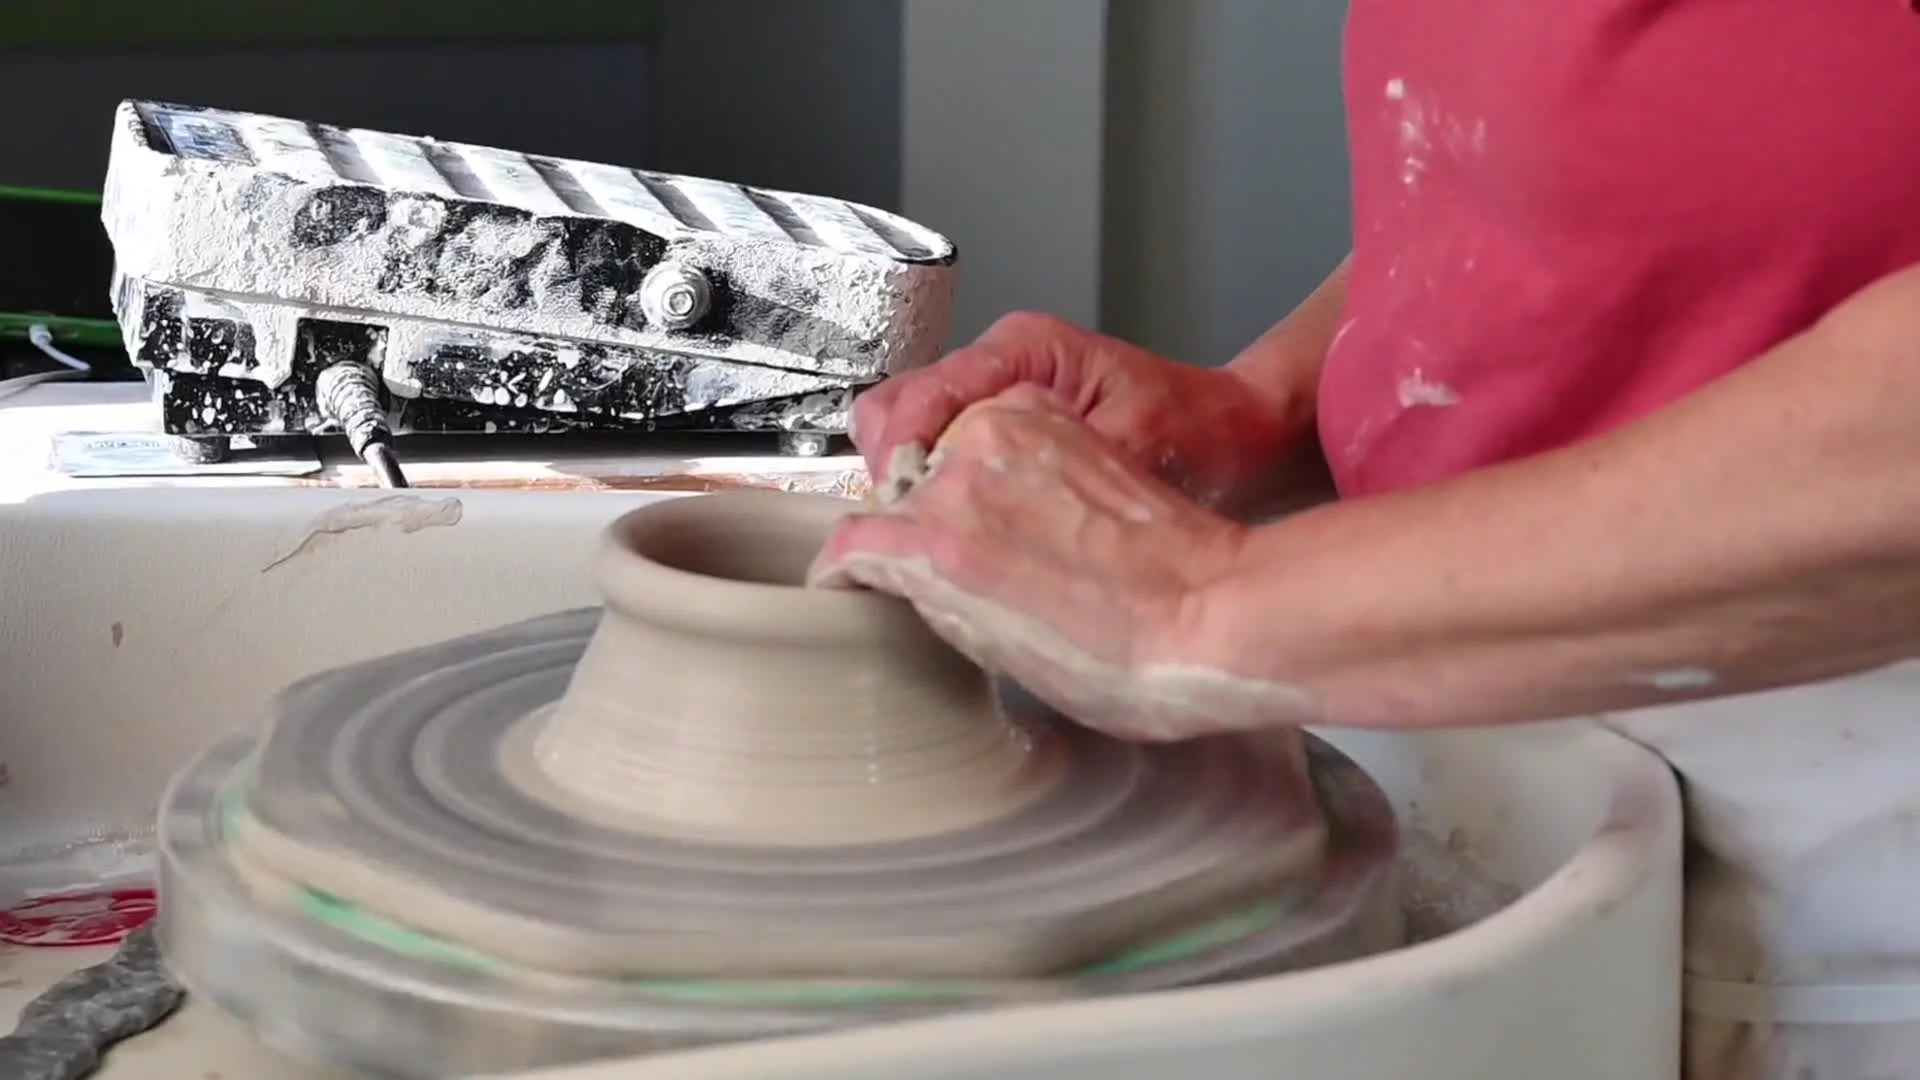
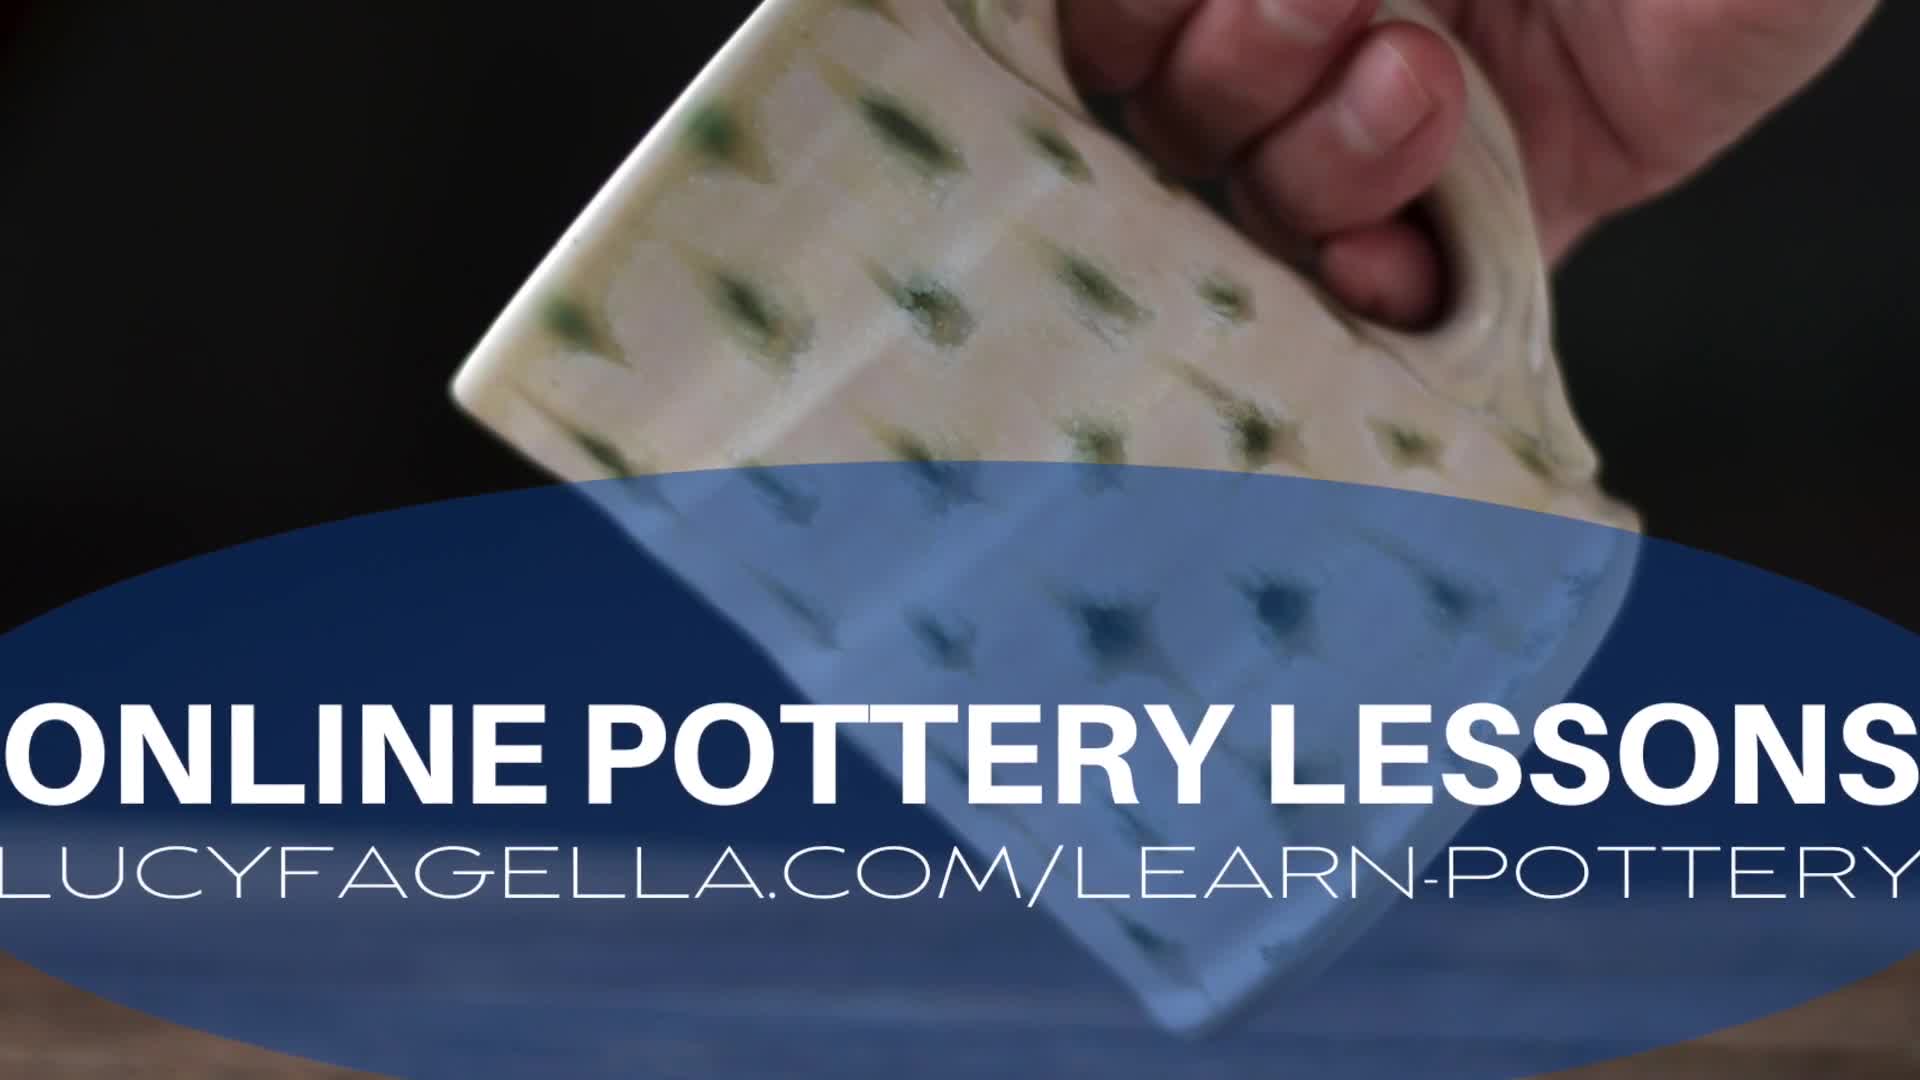
The Comprehensive Guide to Making Lids on the Potters Wheel. Series 1, Making Overhang Lids on the Potters Wheel. This is the latest series on making many different types of lidded vessels. This video series contains 11 videos, (3 hours of lessons). They are comprehensive, detailed instructional videos on how to make three different types of overhang lids and the forms they sit on top of.
Take a look below for this new series and previous instructional videos- One Piece Lidded Jar Series, (4 video lessons over 1.5 hours). Mug and Handle Series, (3 video lessons, over 1.5 hours)
Click on the public preview videos so you get an idea if these videos are for you before you purchase. Once you click on a video lesson in the series it will bring you to a paywall for your rental/purchase options.
The next series of videos will be on making “Drop-down Lids”.

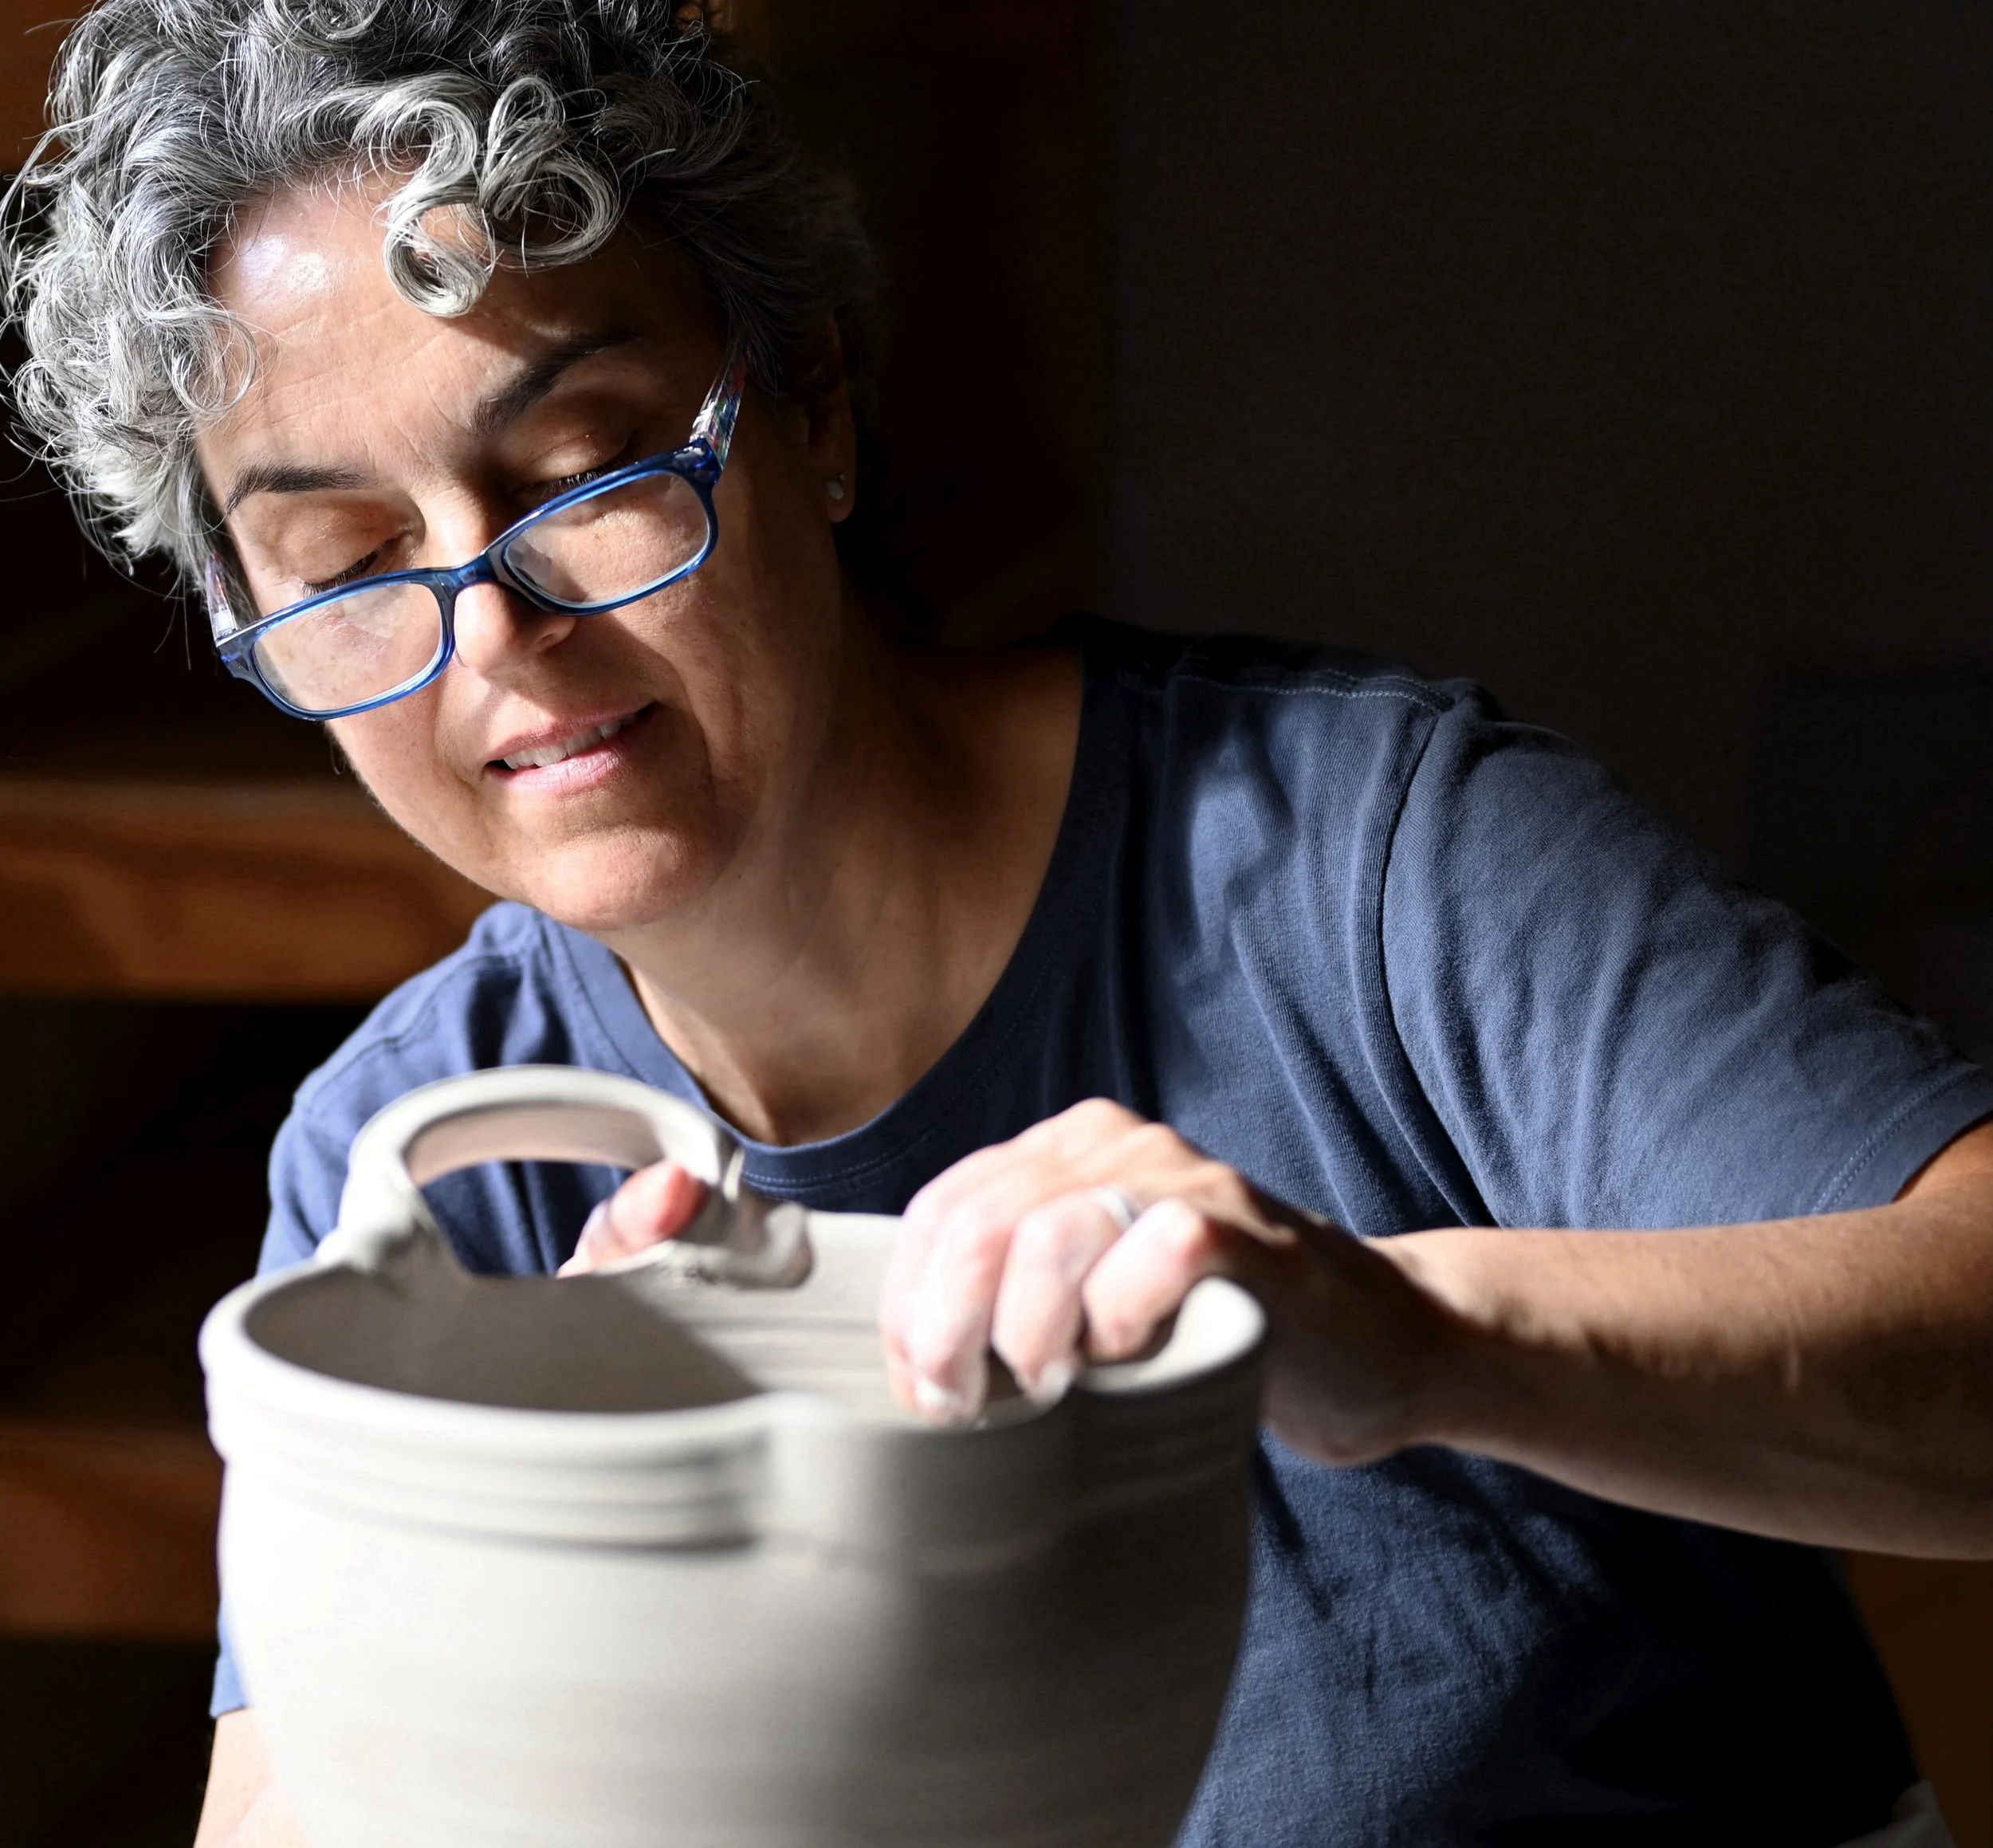
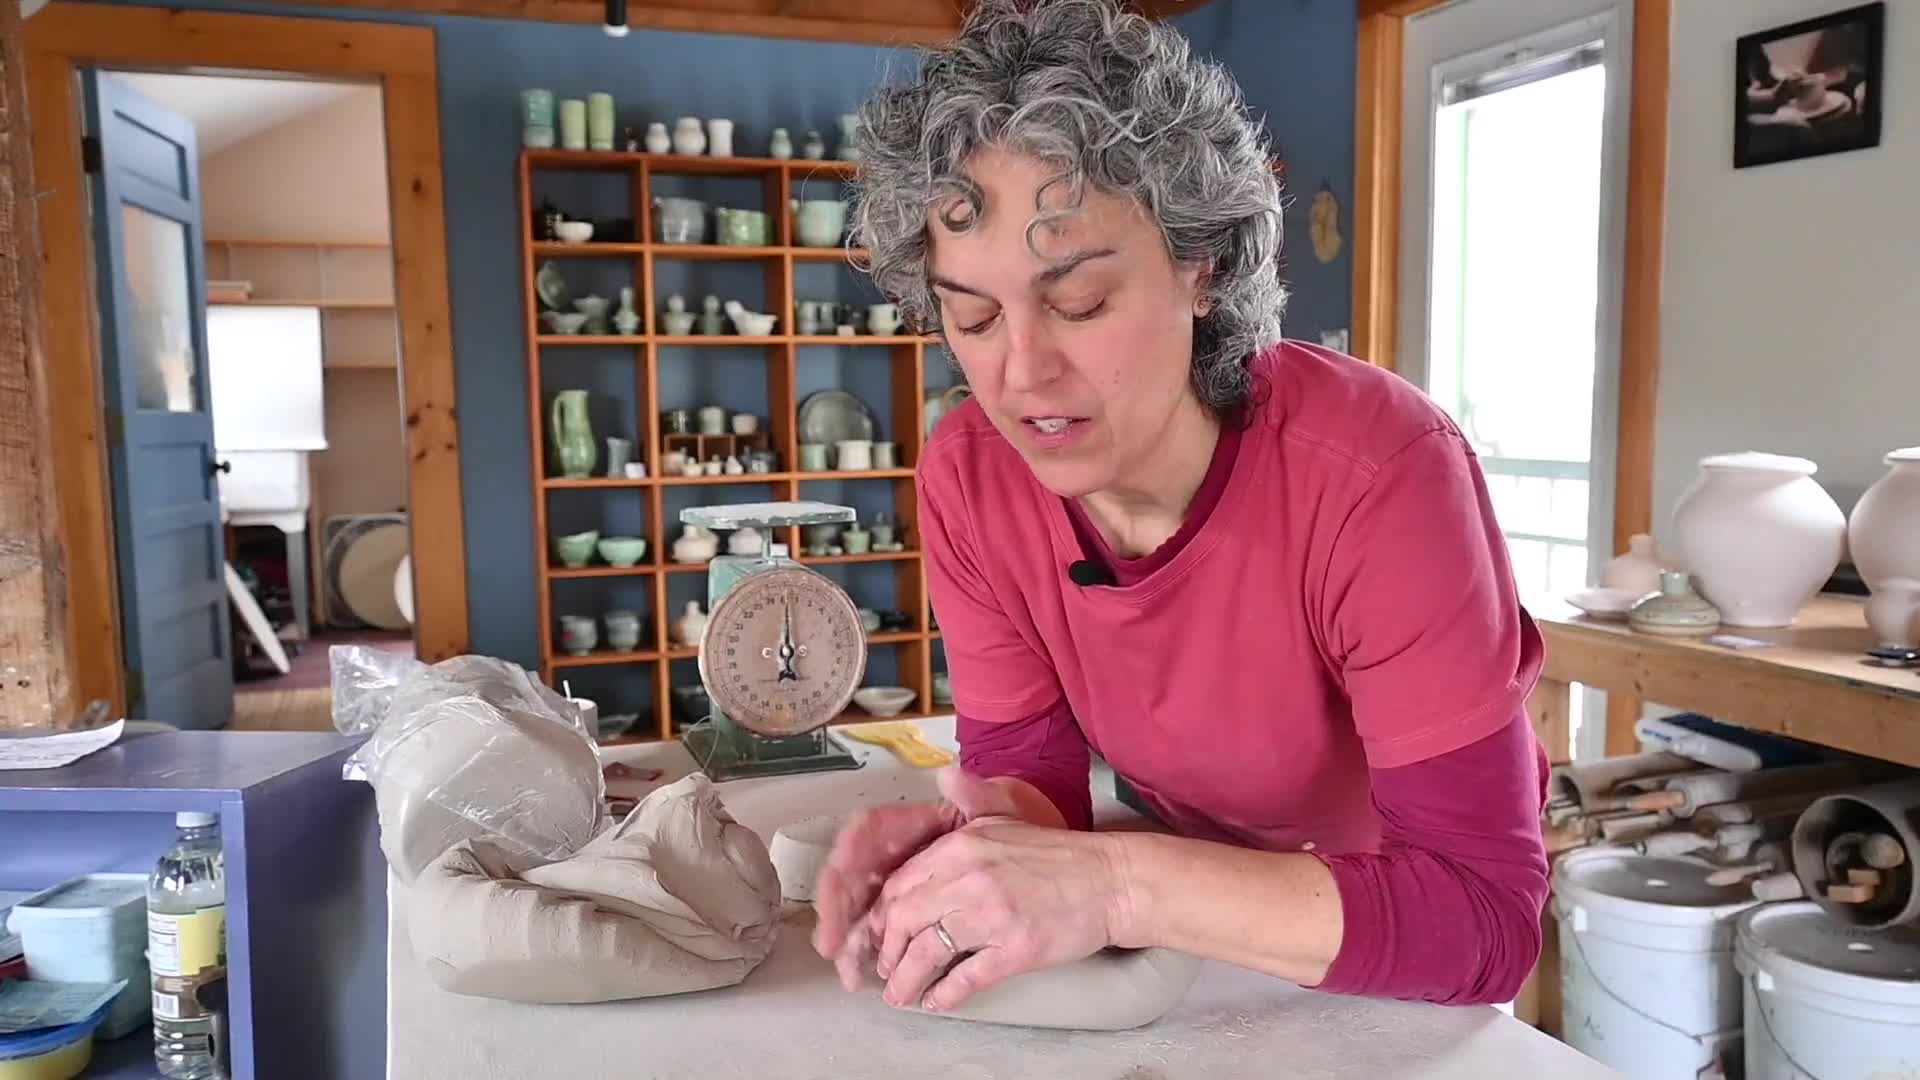
With 40 years of experience, Lucy Fagella is a master potter and educator whose passion for clay shapes both art and community. Lucy has a B.F.A. in ceramics from Alfred University College of Art and Design.
Lucy skillfully balances technical expertise with a warm, nurturing teaching style. Her Online Pottery Lessons are designed to inspire creativity and cultivate skill. Lucy emphasizes the joy of handmade pottery in everyday life, guiding her students to create pieces that are not only functional but also imbued with personal meaning.
Overhang Lid Series


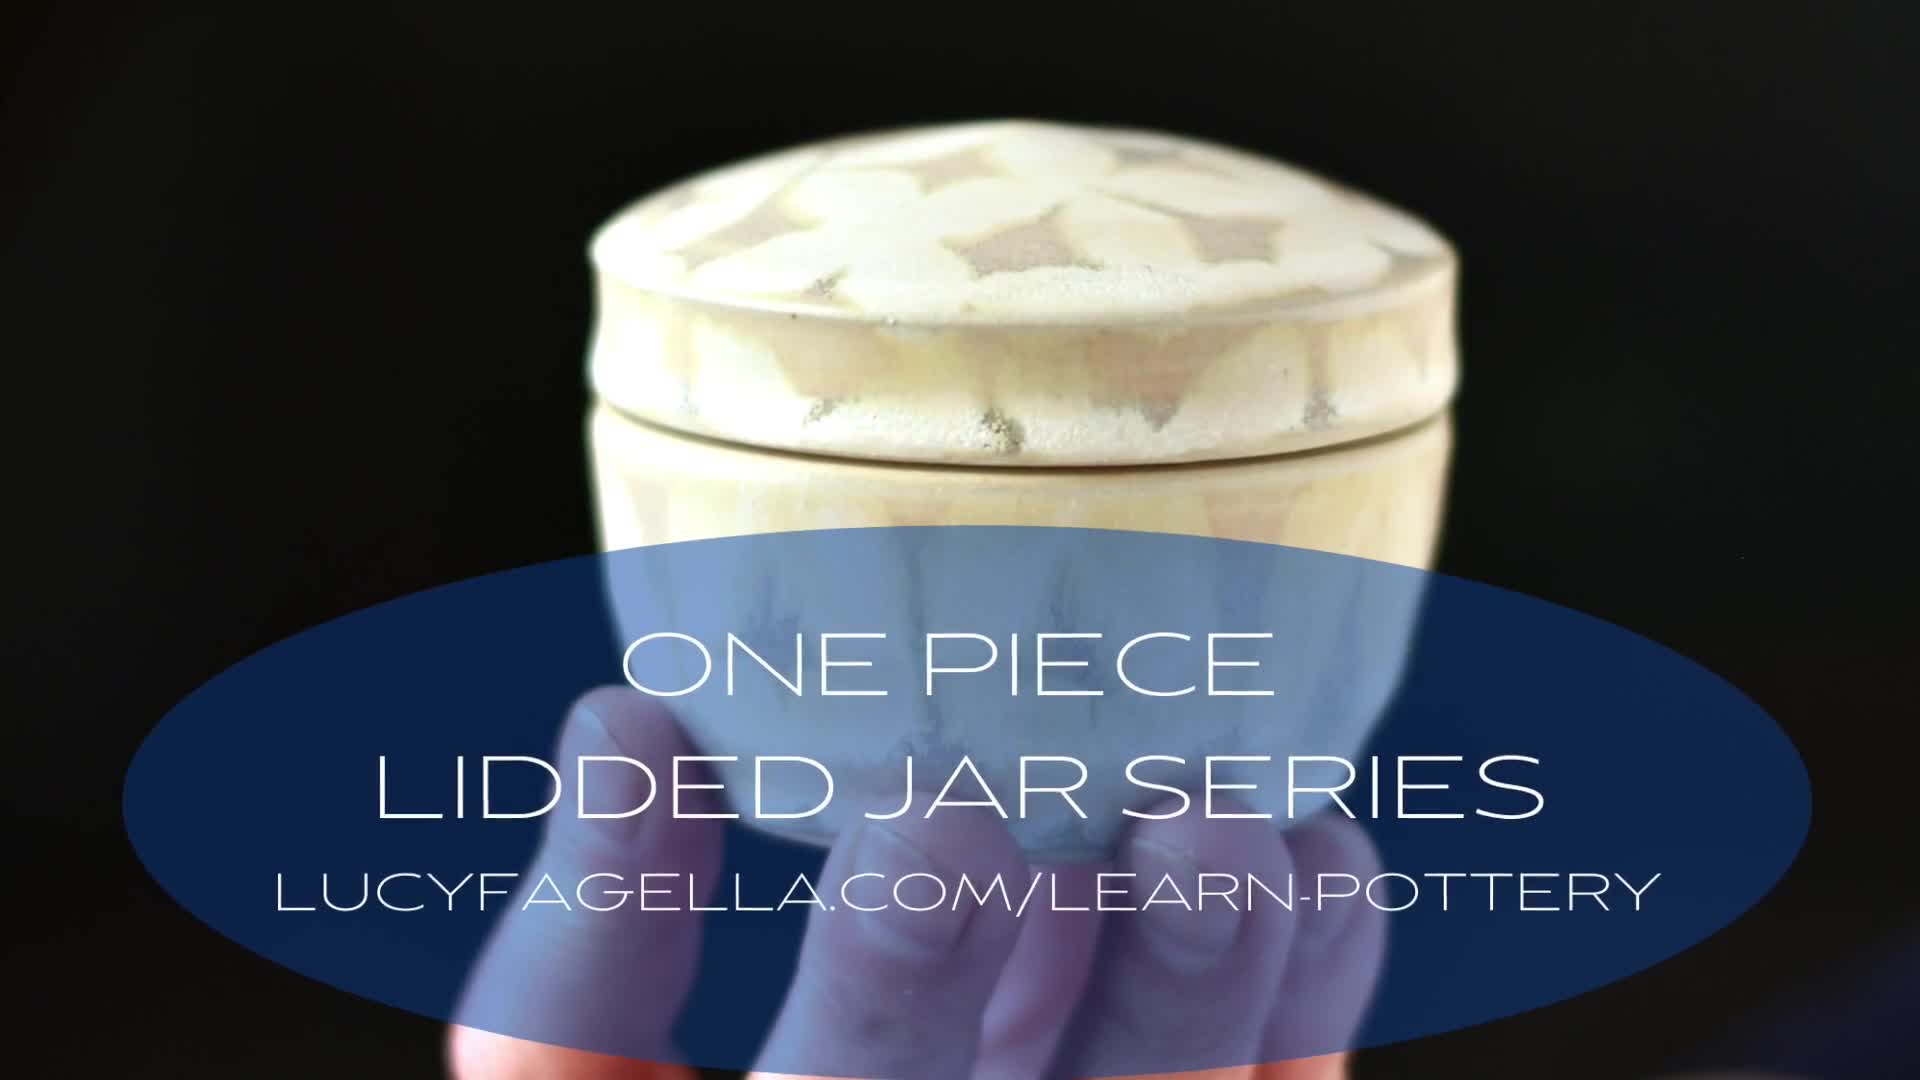
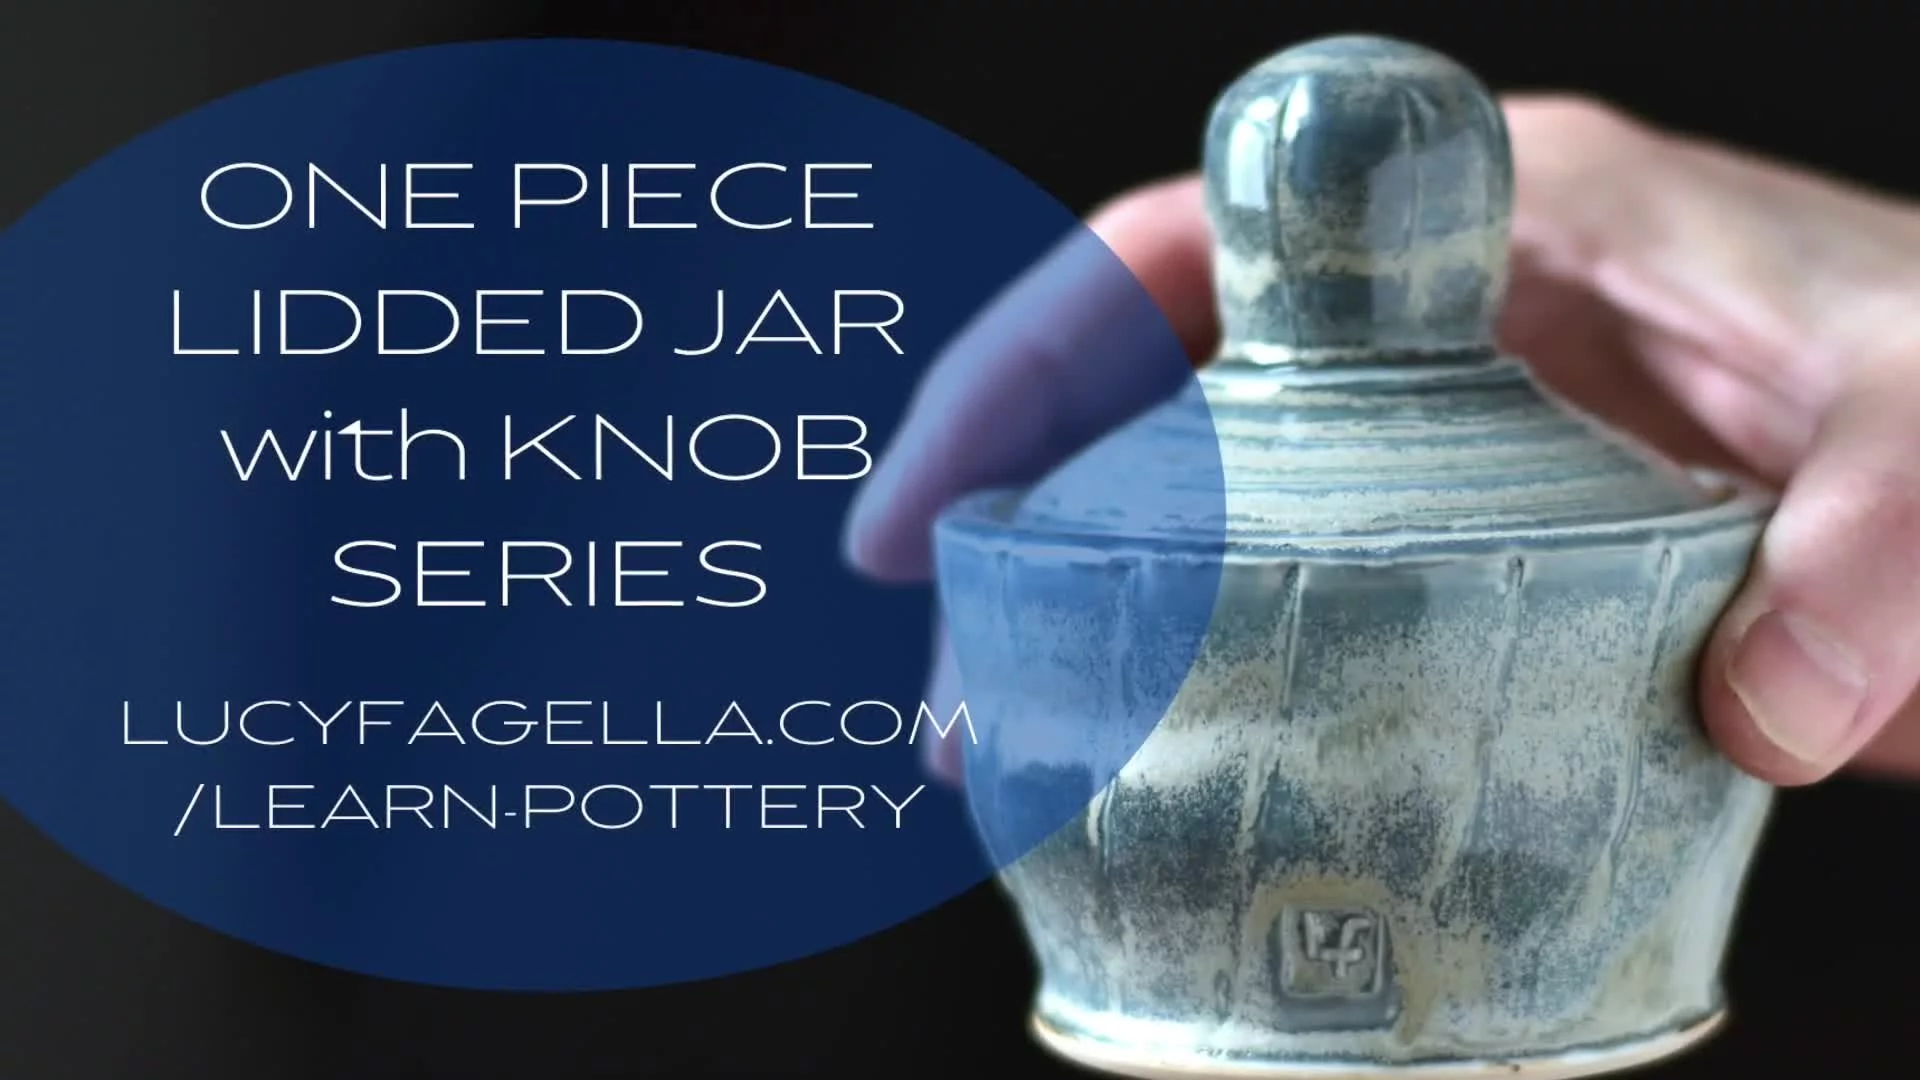
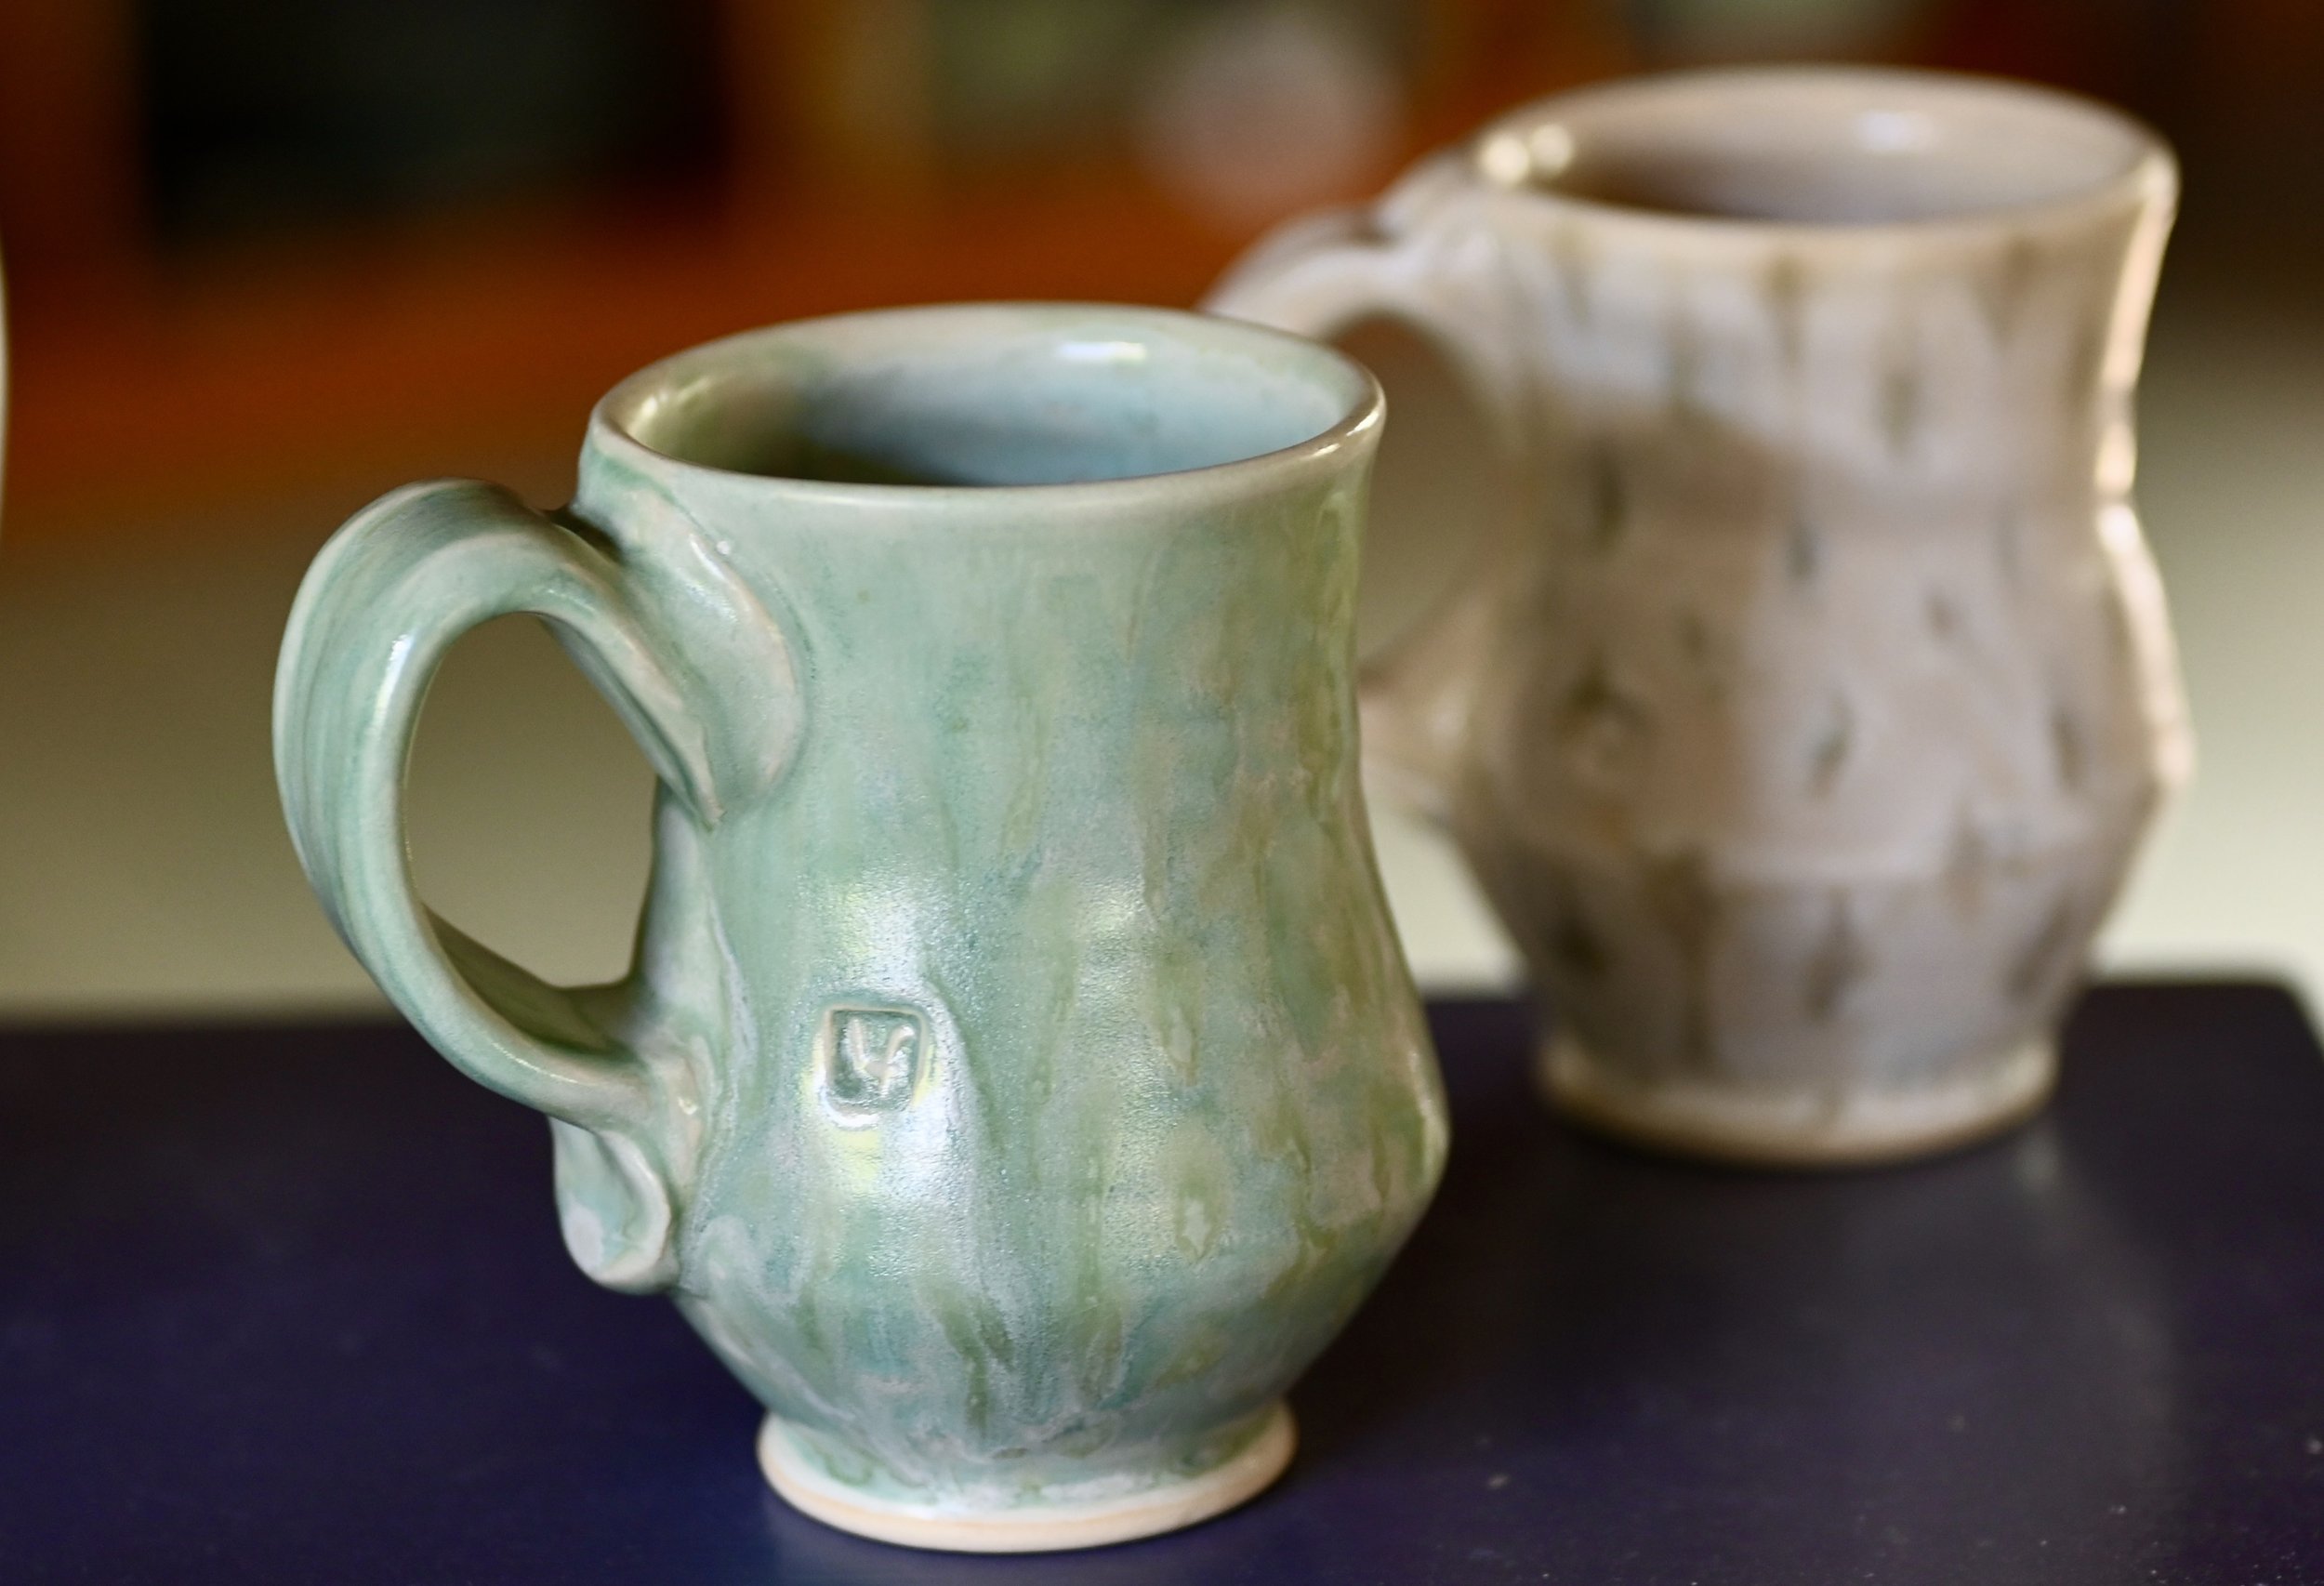
One Piece Lidded Jar Series


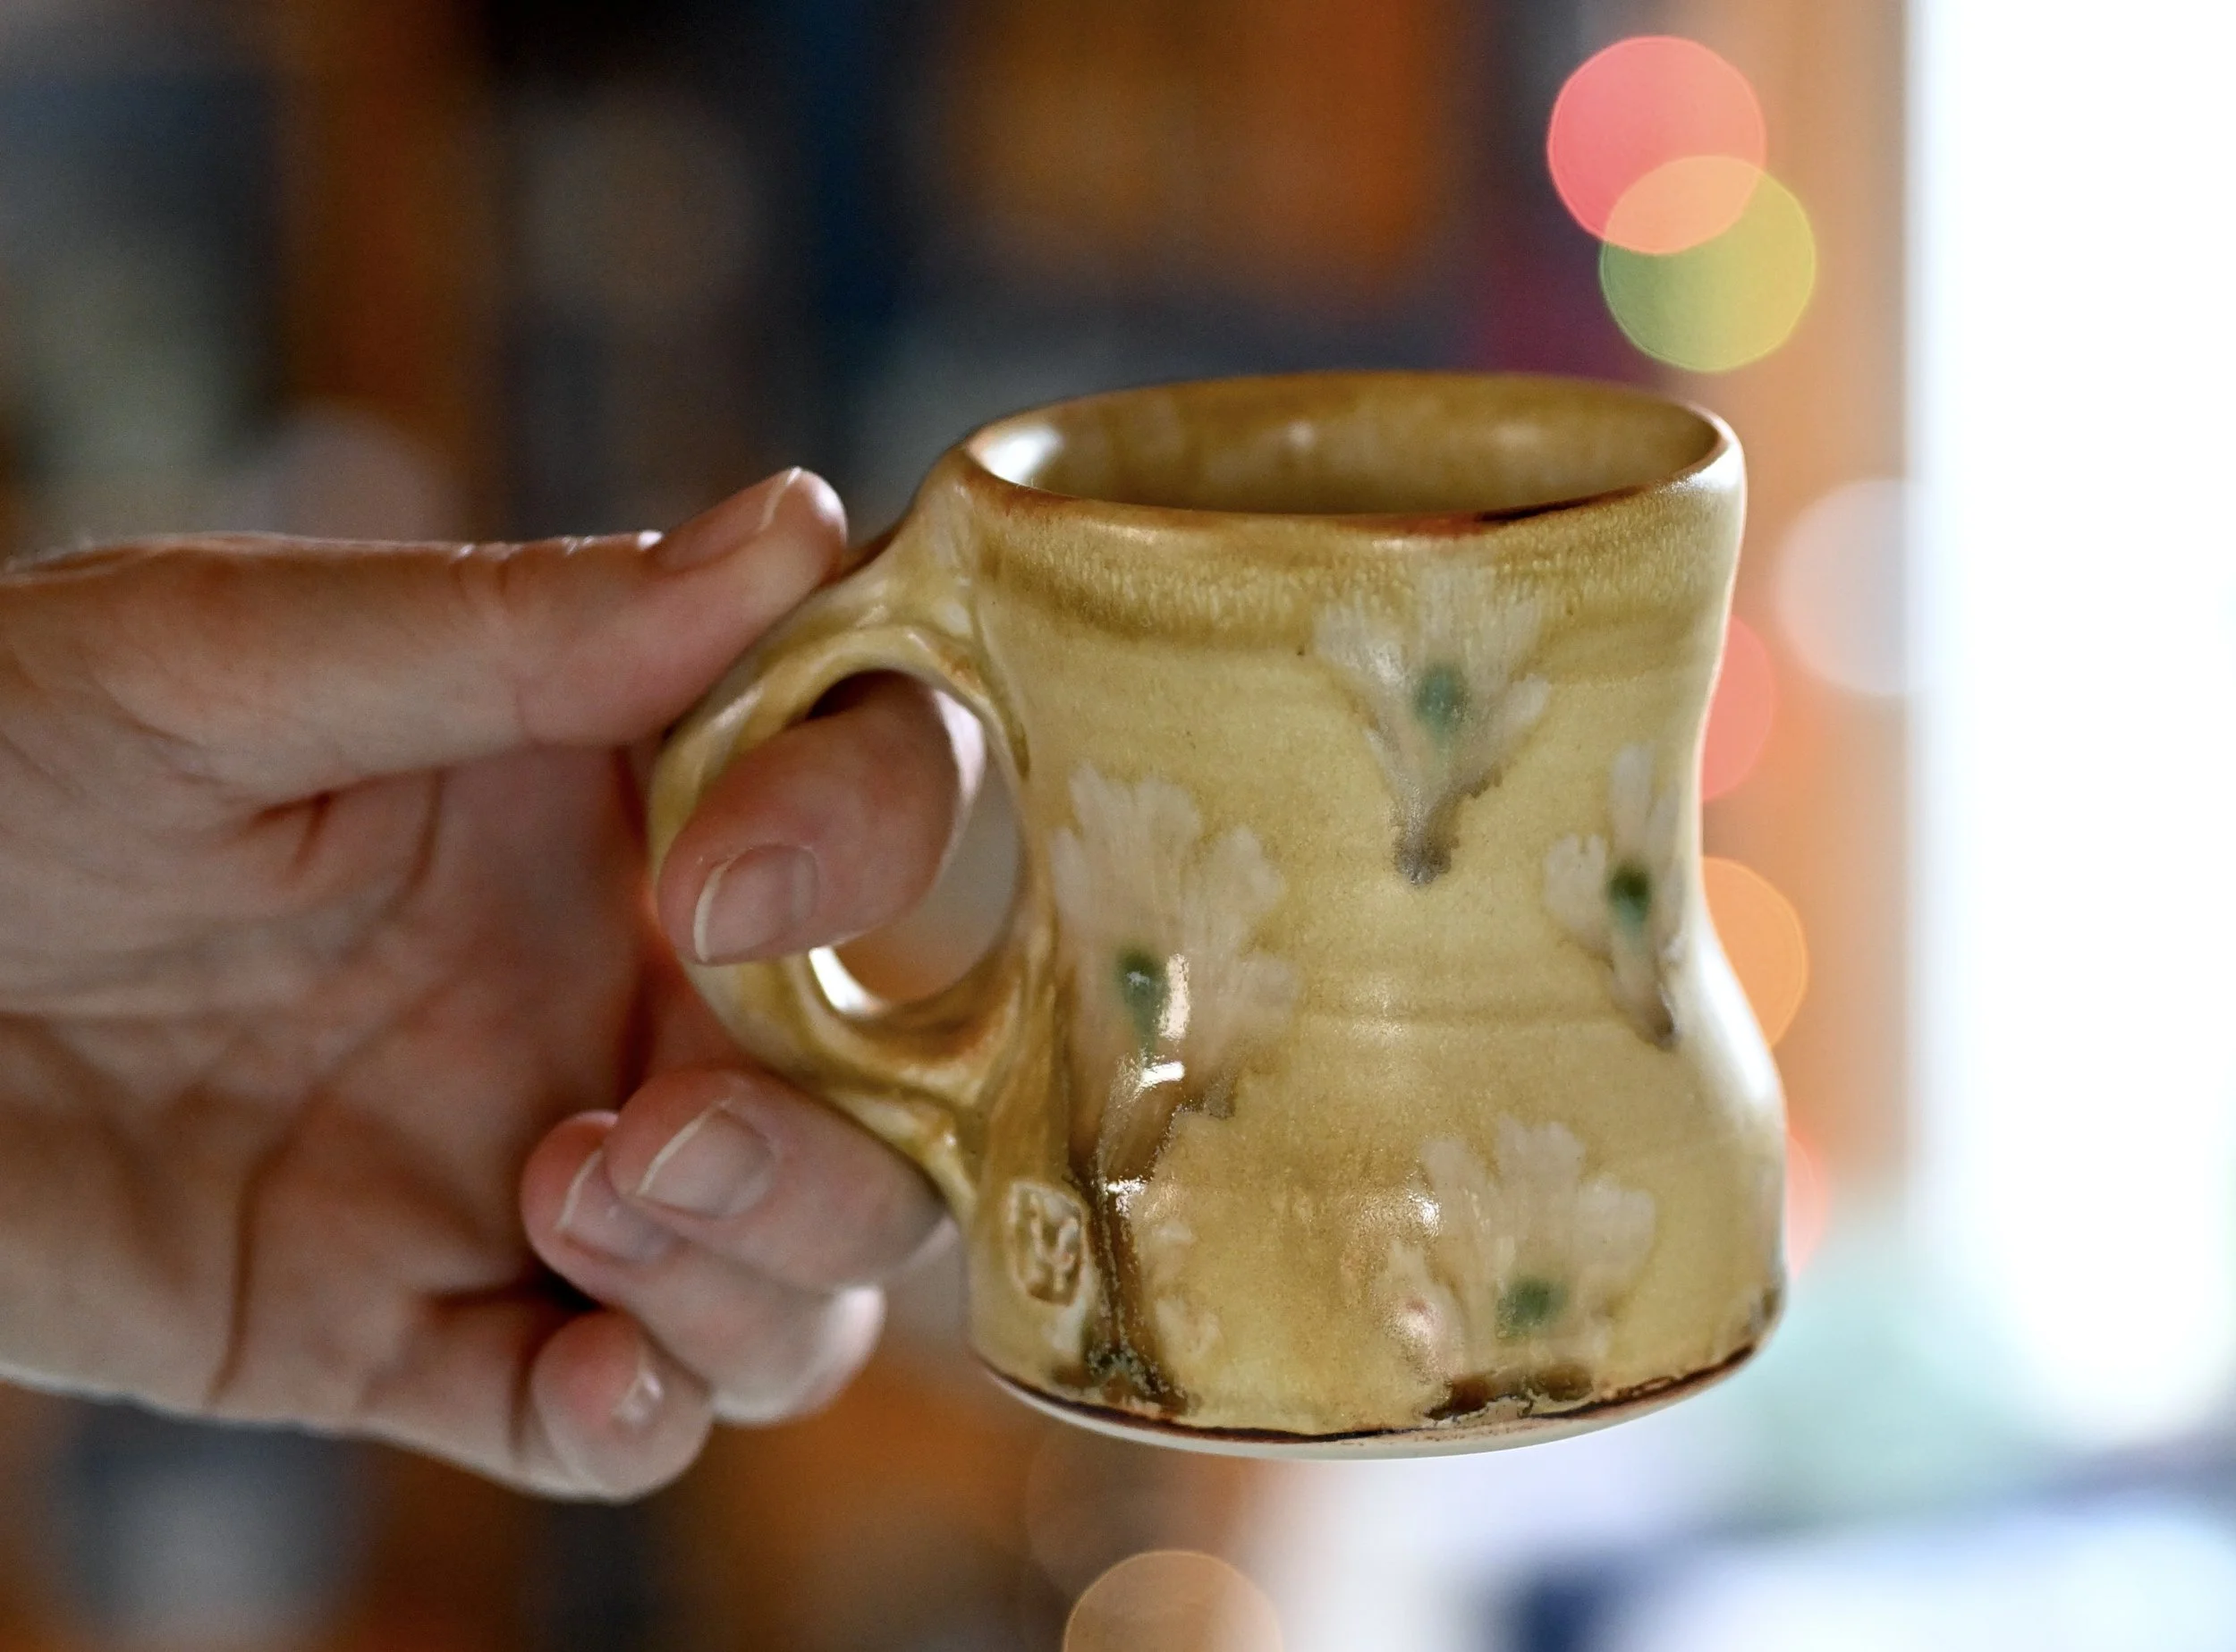
Mug and Handle Series

If you have purchased my instructional videos via Vimeo and can no longer access them, please contact me!
You may also want to head over to my YouTube channel to see my “Quick Videos”. These are mainly minute long videos.
When I was a teenager I spent most of my senior year of high school in the art room learning how to make pottery. I was so hooked on pottery that my parents graduation gift to me was 20 hours of pottery lessons with a local potter. I honed my skills at the wheel that summer before I went off to college, To this day I am grateful for the experience.
I’ve always loved the idea of lessons... just short spurts of time spent with a mentor, where you watch, imitate, then go to the studio and practice.
It takes a long time to learn pottery skills, and even longer to connect those skills with your artistic voice… I can help you with the skills part!
Sign up for my newsletter to keep up to date on the latest videos.
Workshops
I have taught weekly pottery classes for 30 years at art centers and at my studio. At this time in my life I am no longer teaching weekly classes.
I am however available to give 1 day to 1 week workshops at your school/art center in the New England area, or at my studio in Greenfield, MA.
I am also available for 2-3 hour Zoom workshops!
Contact me via the form on my contact page for details and price.
Some of my past workshops include:
Truro Center for the Arts at Castle Hill Truro, MA,
Snow Farm, Williamsburg MA.
Wesleyan Potters, Middletown CT
Hudson River Potters, Hudson Valley, New York
Expressions Pottery, East Granby, CT
Pivot Pottery, Florence, MA
Easthampton Clay, Easthampton, MA
Summer 5 day and weekend workshops at Lucy Fagella Pottery, Greenfield, MA
Zoom Workshops:
Pocosin Arts School of Fine Craft, Columbia North Carolina
Clayfolk, Southern Oregon Potters Association
Hudson River Potters, Hudson Valley New York
Public Preview Video.
Here’s a little introduction for what to expect in the this series.